You’ve been looking at mural wallpaper long enough to know there are really two camps: peel-and-stick panels that go up fast and come down easy, and a second category the industry calls paste-the-wall (also written “paste the wall” or PTW). Paste-the-wall means exactly what it sounds like — instead of activating adhesive already on the paper, or soaking the paper itself in paste, you coat the wall surface first and then press dry panels directly onto it. No soaking bucket, no limp paper flopping off the table. For large-format murals in particular, that difference in workflow is significant. This guide breaks down when paste-the-wall is the smarter call, what it actually costs in time and materials, and how it stacks up against peel-and-stick on the variables that matter most to anyone mid-project.
What “Paste-the-Wall” Actually Means (and Why Murals Favor It)
Standard wallpaper installation has historically involved pasting the back of the paper, then “booking” it — folding paste-side-to-paste-side and waiting for the paper to expand before hanging. That expansion (called soaking time) lets the substrate absorb moisture evenly so it doesn’t buckle on the wall. Skip soaking time and you’ll see bubbles; soak unevenly and you’ll see misaligned seams at pattern repeats.
Paste-the-wall technology sidesteps this entirely by using a dimensionally stable substrate — typically a non-woven (spunbonded polyester-and-cellulose blend) that doesn’t expand or contract when wet. Because the panel stays the same size wet or dry, you paste the wall in sections, position the dry panel, and slide it into place. The Spruce’s overview of paste-the-wall vs. paste-the-paper methods notes that non-woven substrates are “much more forgiving” on repositioning precisely because dimensional stability lets you nudge the panel after contact.
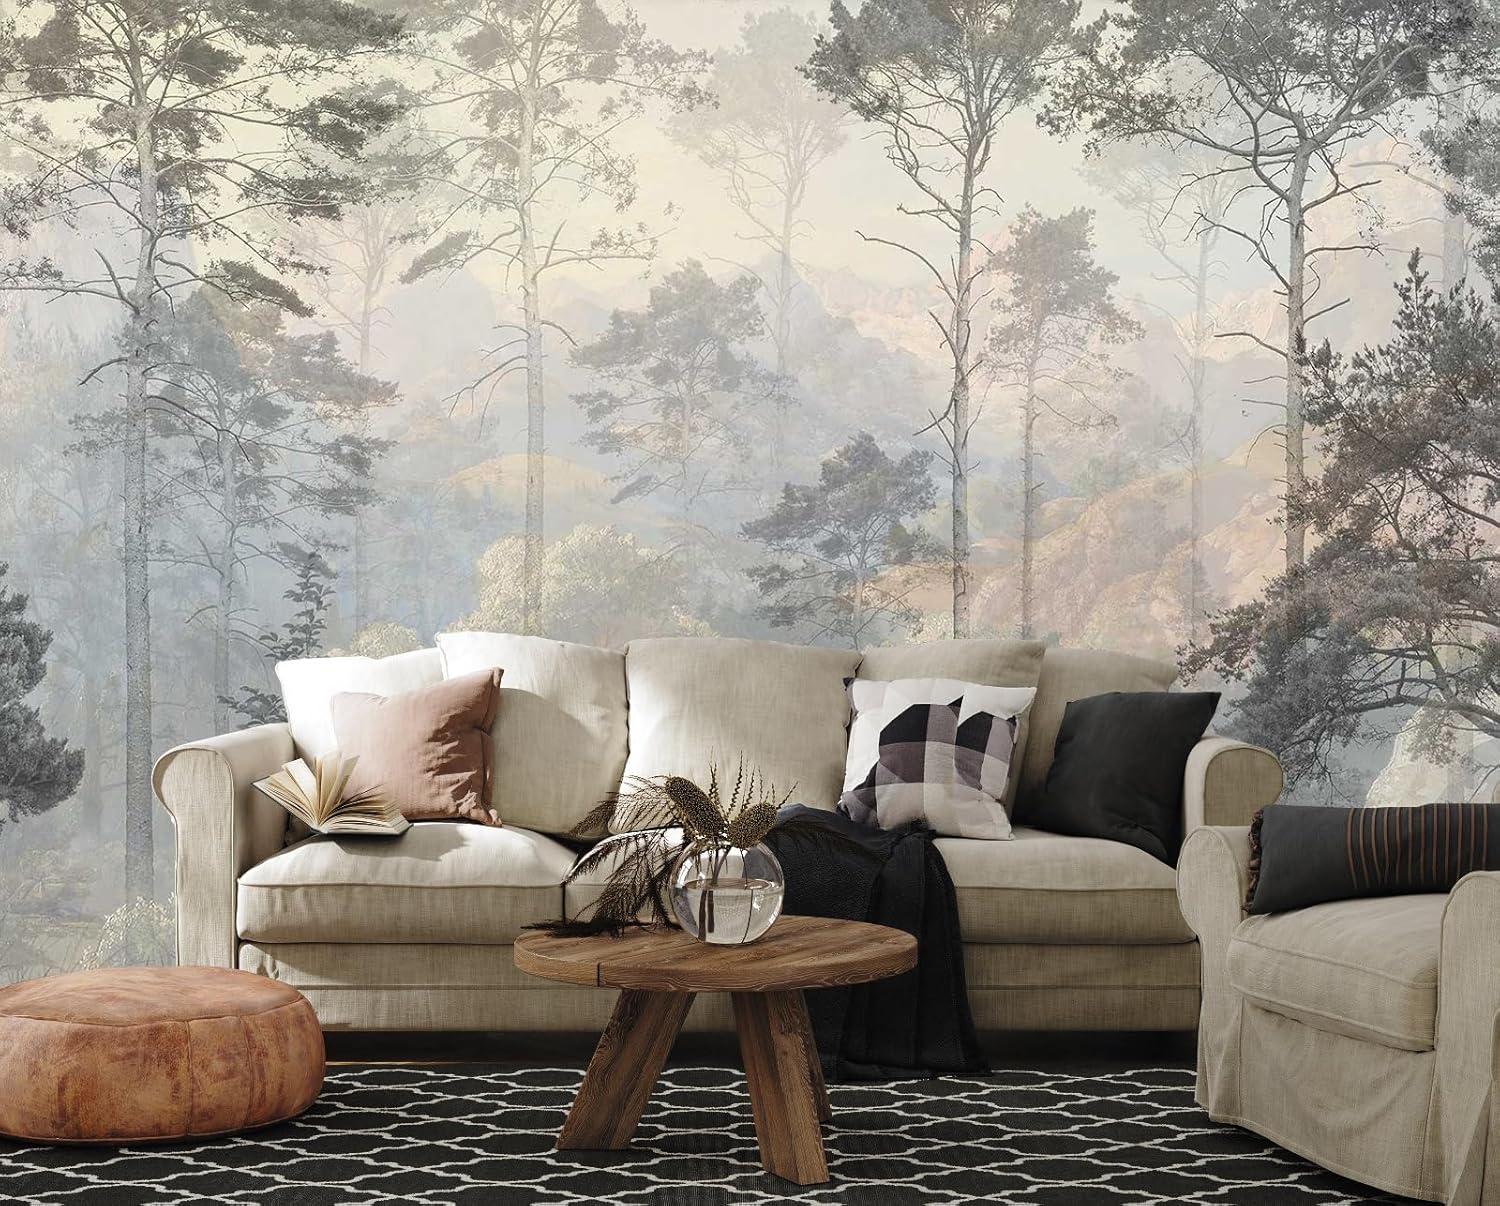
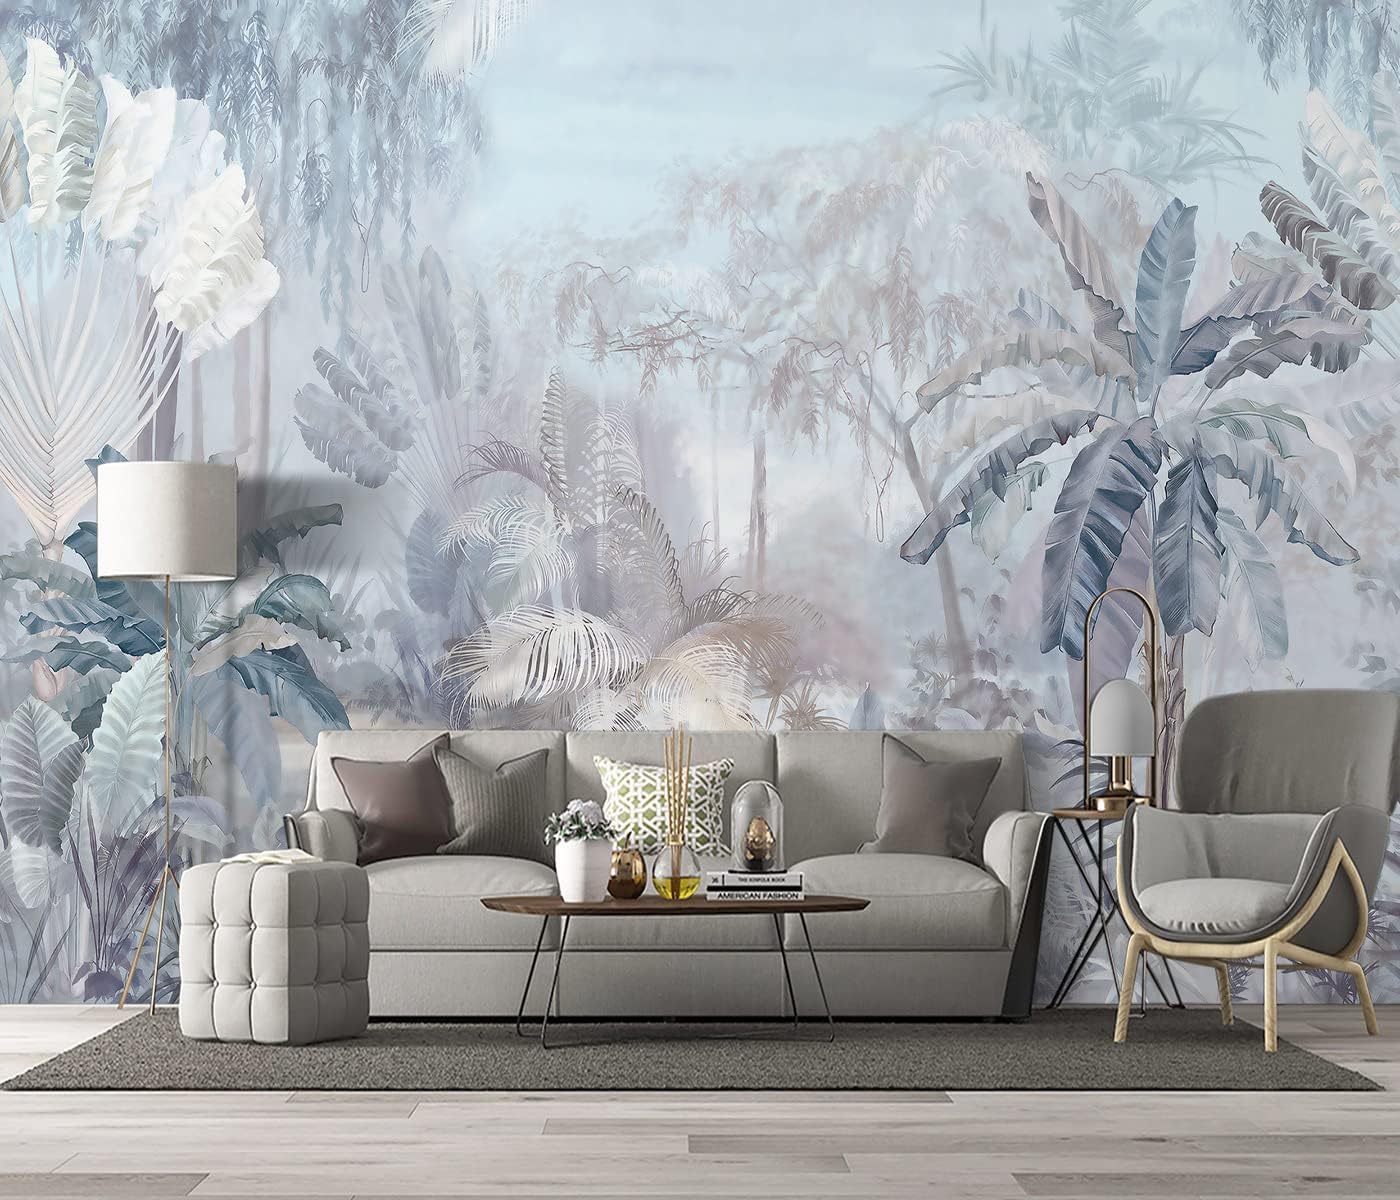
For murals — where a single image is printed across four, six, or eight sequential panels that must line up edge-to-edge — this matters enormously. Peel-and-stick vinyl murals are cut from a pressure-sensitive film. They’re stable too, but they grip fast and repositioning after contact means risking a stretched or torn edge on panels that may run floor-to-ceiling. Paste-the-wall non-woven panels stay workable longer and register (align at the seam) more precisely. Architectural Digest’s guide to professional wallpaper hanging specifically calls out non-woven paste-the-wall as the preferred substrate “when pattern matching is critical.”
The Real Cost Comparison: PTW vs. Peel-and-Stick Murals
This is where the decision usually lives. Peel-and-stick feels cheaper because there’s no additional product to buy. Paste-the-wall requires a separate adhesive purchase. But the math isn’t that clean once you factor in failure rate and rework.
By the numbers — typical 4-panel accent wall mural, 9 ft × 12 ft:
| Line item | Peel-and-Stick | Paste-the-Wall |
|---|---|---|
| Mural panels (mid-tier) | $180–$280 | $200–$320 |
| Adhesive / primer | $0 (included) | $18–$35 (paste) + $20–$40 (primer) |
| Smoother / seam roller | ~$8 | ~$8 |
| Likely re-hang attempts | 1–3 per panel on textured walls | 0–1 per panel |
| Estimated total materials | $188–$296 | $246–$403 |
That gap closes if a single peel-and-stick panel tears during repositioning — replacement panel costs often run $40–$80 for mid-tier products. Apartment Therapy’s buyer’s guide to peel-and-stick wallpaper flags textured or painted-over walls as “the most common cause of adhesion failure and panel waste,” which is consistent with what reviewers across major retail platforms report about peel-and-stick murals on walls that haven’t been skim-coated or sanded.
 product image](/images/external/b2a3d35f8a54.jpg)
Reyhui
$129.99
In stock on Amazon
Check price on AmazonFor the paste itself, a standard non-woven wallpaper adhesive (sold at Home Depot and Wayfair in 5-lb dry-mix or pre-mixed tubs) is sufficient for most residential mural projects. Pre-mixed tubs are marginally easier to work with on a solo hang — one fewer variable when you’re timing open time on a 9-foot panel.
 product image](/images/external/714e6dca485c.jpg)
Roman
$23.75
In stock on Amazon
Check price on AmazonWhen Paste-the-Wall Wins the Tradeoff
There are three conditions where PTW’s extra step pays back faster than it costs:
1. Textured or imperfect walls. Peel-and-stick adhesive requires clean, smooth, primed surfaces to grip and release cleanly. Paste-the-wall adhesive on a non-woven substrate is more forgiving of minor texture because you’re building a wet adhesive bond rather than relying on a pressure-sensitive film. Hunker’s installation overview notes that “lightly textured walls may be skimmed or sanded for peel-and-stick but can often be hung as-is with a heavy-bodied non-woven paste.”
2. Large-format murals with tight pattern registration. If your mural is a continuous botanical, landscape, or architectural scene where a 2mm misalignment at any seam reads as a visual break, the longer open time and repositionability of paste-the-wall gives you a correction window that peel-and-stick film doesn’t. Better Homes & Gardens’ wallpaper installation guide recommends “plumb-line checking each panel before the adhesive sets” — that’s a workflow that only exists because paste-the-wall stays repositionable for several minutes post-placement.
3. Permanent or high-investment installations. If you’ve spent $400+ on artist-designed or bespoke panels, peel-and-stick’s convenience isn’t worth the adhesion risk on the longevity end. Non-woven paste-the-wall panels, properly hung and seam-rolled, routinely last 10–15 years in residential settings. Peel-and-stick film murals typically carry manufacturer adhesion warranties of 3–5 years under normal conditions.
Tropical
$139.99
In stock on Amazon
Check price on AmazonWhen Peel-and-Stick Still Wins
Be honest about your situation. Peel-and-stick is the right call when:
-
You’re renting and the wall must return to white. Paste-the-wall adhesive requires paste removal at move-out, which means wetting the wall again — not complicated, but it’s a step and a risk. Apartment Therapy’s peel-and-stick guide consistently notes removability as the category’s “only clear advantage over traditional paste methods for renters.”
-
The wall is smooth, primed drywall in good condition. This is the sweet spot where peel-and-stick adhesion performs reliably and the speed advantage is real. A solo installer can hang a 4-panel peel-and-stick mural in 2–3 hours on a perfect wall. Paste-the-wall on the same wall might run 3.5–5 hours including paste mixing, panel staging, and seam pressing.
-
You’re not committed to the design yet. Peel-and-stick is genuinely the right format for a room in transition — a nursery that’ll need a different mural in two years, or a rental where you want something that reads well in listing photos but won’t survive a security-deposit dispute.
Reyhui
$129.99
In stock on Amazon
Check price on AmazonThe Primer Question Nobody Answers Directly
Paste-the-wall installs almost always require a sizing coat — a thin layer of diluted wallpaper paste or dedicated wall primer brushed over the plaster or drywall before you hang. Sizing seals the wall’s porosity so the hanging paste doesn’t dry too fast (which would shorten your repositioning window and cause adhesion gaps at seams). The Spruce’s PTW guide calls sizing “non-optional on unpainted drywall and strongly recommended on any wall that hasn’t been wallpapered before.”
This adds $20–$40 in materials and about 45 minutes of prep time, plus a full dry time before you can hang (typically 4–8 hours, or overnight). Budget for it. If you’re planning a weekend install, size the wall Friday evening and hang Saturday morning. That rhythm is reliable and the drying time costs you nothing but a night’s sleep.
Roman
$23.75
In stock on Amazon
Check price on AmazonA Decision Framework: Which Format for Your Project
Rather than a one-size answer, here’s the if/then logic that covers most situations:
If your wall is textured, older plaster, or painted more than twice → paste-the-wall. The adhesion margin PTW provides is worth the extra prep every time. Plan for sizing, use a heavy-bodied non-woven paste, and budget an extra half-day.
If you’re renting and the wall is smooth and primed → peel-and-stick. Speed and removability matter more than longevity here. Use a quality mid-tier peel-and-stick vinyl mural, not the budget polyester film versions, and your panels will hold through a standard lease cycle.
If the mural is hand-painted or bespoke and costs $300+ per panel → paste-the-wall, full stop. The adhesion risk on a $1,200 installation is not a trade worth making for 90 minutes of saved labor.
If you’re a first-time hanger on a smooth wall with a budget mural → peel-and-stick. Learn the room’s geometry, the leveling workflow, and your own pace before you add paste timing to the mix. Practitioner skill compounds; there’s no shame in sequencing.
Tropical
$139.99
In stock on Amazon
Check price on AmazonWhat to Order Before You Commit
Before you finalize any mural purchase — paste-the-wall or otherwise — order a physical sample. Most mid-tier and premium mural brands offer A4 or letter-size printed swatches for $5–$15. Hold the sample against your actual wall at the actual time of day you’ll be in that room. Inkjet-printed non-woven and true artist-printed panels read very differently under tungsten vs. northern daylight, and no monitor calibration substitutes for that check.
If the brand doesn’t offer samples, that’s information. It usually means inventory is print-on-demand with high variance, or the return/replace policy is designed to absorb sample requests as full orders. Neither is the end of the world, but it changes your risk posture — especially on a paste-the-wall project where a mis-colored panel mid-hang is a harder problem than peeling a mis-colored peel-and-stick strip.
Tropical
$139.99
In stock on Amazon
Check price on AmazonThe extra step in paste-the-wall isn’t busy work — it’s a load-bearing part of why the format lasts and registers as well as it does. Know your wall condition, know your budget, and sequence your weekend accordingly. The installs that go sideways almost always trace back to skipping the sizing coat or underestimating panel staging time, not to anything fundamentally harder about the method itself.