You found a wallpaper you love — maybe it’s a hand-painted botanical panel from a small studio, maybe it’s a lush mural print you’ve been saving screenshots of for three months. You’ve done the roll math, measured the wall twice, and you know roughly what the paper itself will cost. Here’s the part that catches almost everyone off guard: the paper is rarely the biggest surprise in the final invoice. The adhesive (the paste or glue that bonds wallpaper to your wall), the primer (a preparatory wall coating that helps adhesive grip evenly and prevents moisture damage), and the hand tools you’ll use exactly once add up to $80–$200 before a single strip goes up. This guide maps every line item so you walk into the project with an honest number — and you don’t abandon a half-hung wall because you ran out of paste at 9pm.
Why the “Just the Wallpaper” Budget Always Breaks
The pattern is consistent enough that Apartment Therapy flagged it in their guide to wallpaper projects: buyers calculate cost per roll and multiply by room, then experience genuine shock at checkout when they add supplies. There are three reasons this keeps happening.
First, wallpaper is sold in units that feel complete (a roll, a panel, a set) even though the paper is technically inert until it’s bonded to a properly prepared wall. Second, the supply list is longer than most people expect — it’s not just paste and a brush. Third, some costs are wall-condition-dependent, meaning you genuinely cannot know them until you look closely at your walls, which most buyers don’t do until the paper arrives.
Here’s the honest line-item breakdown for a standard single accent wall (roughly 12 feet wide × 9 feet tall, the most common statement-wall scenario):
By the numbers — single accent wall, mid-range project:
- Wallpaper primer / sizing coat: $18–$40 (one quart covers most accent walls)
- Paste or adhesive: $12–$35 depending on type and weight of paper
- Paste brush or roller: $8–$18
- Plastic smoother / wallpaper squeegee: $6–$14
- Seam roller (a narrow rubber roller for pressing seams flat — critical for professional-looking results): $6–$12
- Plastic drop cloth and painter’s tape: $10–$20
- Supply subtotal: $60–$139 on top of whatever the paper costs
For a full room — four walls, average bedroom — double those figures and add a second bucket of paste.
Adhesive: The Decision That Depends on Your Paper Type
Not all paste is interchangeable. The Spruce’s overview of wallpaper adhesive types lays out the core categories clearly, and it’s worth understanding them before you buy anything.
Starch-based paste (also called wheat paste or traditional paste) is mixed from powder and water. It has a long open time — meaning it stays workable for 20–30 minutes after application — which gives beginners room to reposition strips. It’s the right call for traditional, heavier papers, including most genuine hand-painted wallpapers on a cotton or linen substrate. Downside: it goes bad within a few days of mixing, so you’re making fresh batches mid-project.
Premixed vinyl adhesive comes in a tub, ready to use. It’s convenient, widely available at Home Depot and most paint stores, and works well with standard printed vinyl or non-woven papers (non-woven means the backing is a synthetic fiber blend, not paper — it’s more tear-resistant and often paste-the-wall rather than paste-the-paper). If your wallpaper’s care sheet says “paste the wall” rather than “paste the paper,” premixed vinyl adhesive is almost certainly what you want.
Heavy-duty or high-solid adhesive is for specialty situations: very heavy grasscloth (a natural fiber wallcovering woven from grasses and backed with paper), fabric-backed panels, or commercial-weight papers above 200 gsm (grams per square meter — a measure of paper weight and density). If you’re hanging bespoke painted panels from an artist studio, check the spec sheet; some premium painted papers fall into this weight class.
The tradeoff in plain terms: Cheap universal paste might cost $12 and feel like you’re saving money, but if it’s underpowered for your paper weight, seams lift within months. Owners of heavier grasscloth and painted papers consistently report that under-adhesion is the number-one cause of early failures. Spend the extra $8–$15 to match adhesive to paper type.
For most mid-range non-woven printed wallpapers — the $80–$150/roll category — a quality premixed adhesive is the right call. WP — $17.47
For genuine hand-painted or heavyweight specialty papers, move up to a heavy-duty formulation. Roman — $32.12
Primer and Sizing: The Step That Determines Whether Your Seams Stay Flat in Year Two
This is the line item buyers most often skip, and it’s the one that causes the most visible regret. Hunker’s guide on pre-wallpaper priming explains the mechanics: unprimed drywall (the standard interior wall material in most North American homes) is porous. When wet paste contacts raw drywall, moisture wicks unevenly into the wall, causing the paper to bubble and the adhesive bond to be inconsistent. Primer seals the surface so paste grips uniformly.
Better Homes & Gardens reinforces this with a practical note: primer also makes removal dramatically easier if you ever want to re-wallpaper. Without it, removal can take the drywall’s paper face with it, meaning you’re skimming and repainting before the next project even starts.
Two products to know:
Wallpaper primer (sometimes labeled “wallpaper primer-sealer”) is a dedicated product, distinct from standard interior paint primer. It’s formulated to provide tooth — a slightly grippy surface texture — that paste adheres to well. One quart typically covers 200–400 square feet, more than enough for an accent wall.
Sizing is an older term for a diluted adhesive solution brushed onto walls before hanging. Some installers still use it on top of primer on very smooth or glossy walls as an extra bonding layer. On new or recently painted drywall, primer alone is usually sufficient. If your walls have a semi-gloss or gloss paint finish (which is common in kitchens, bathrooms, and some newer builds), add a light sand before priming and consider sizing as a belt-and-suspenders step.
Roman — $32.12 covers the primer need for new-construction walls and recently skim-coated surfaces. For walls with existing glossy paint, step up to a higher-build primer formulation.

Roman
$32.12
In stock on Amazon
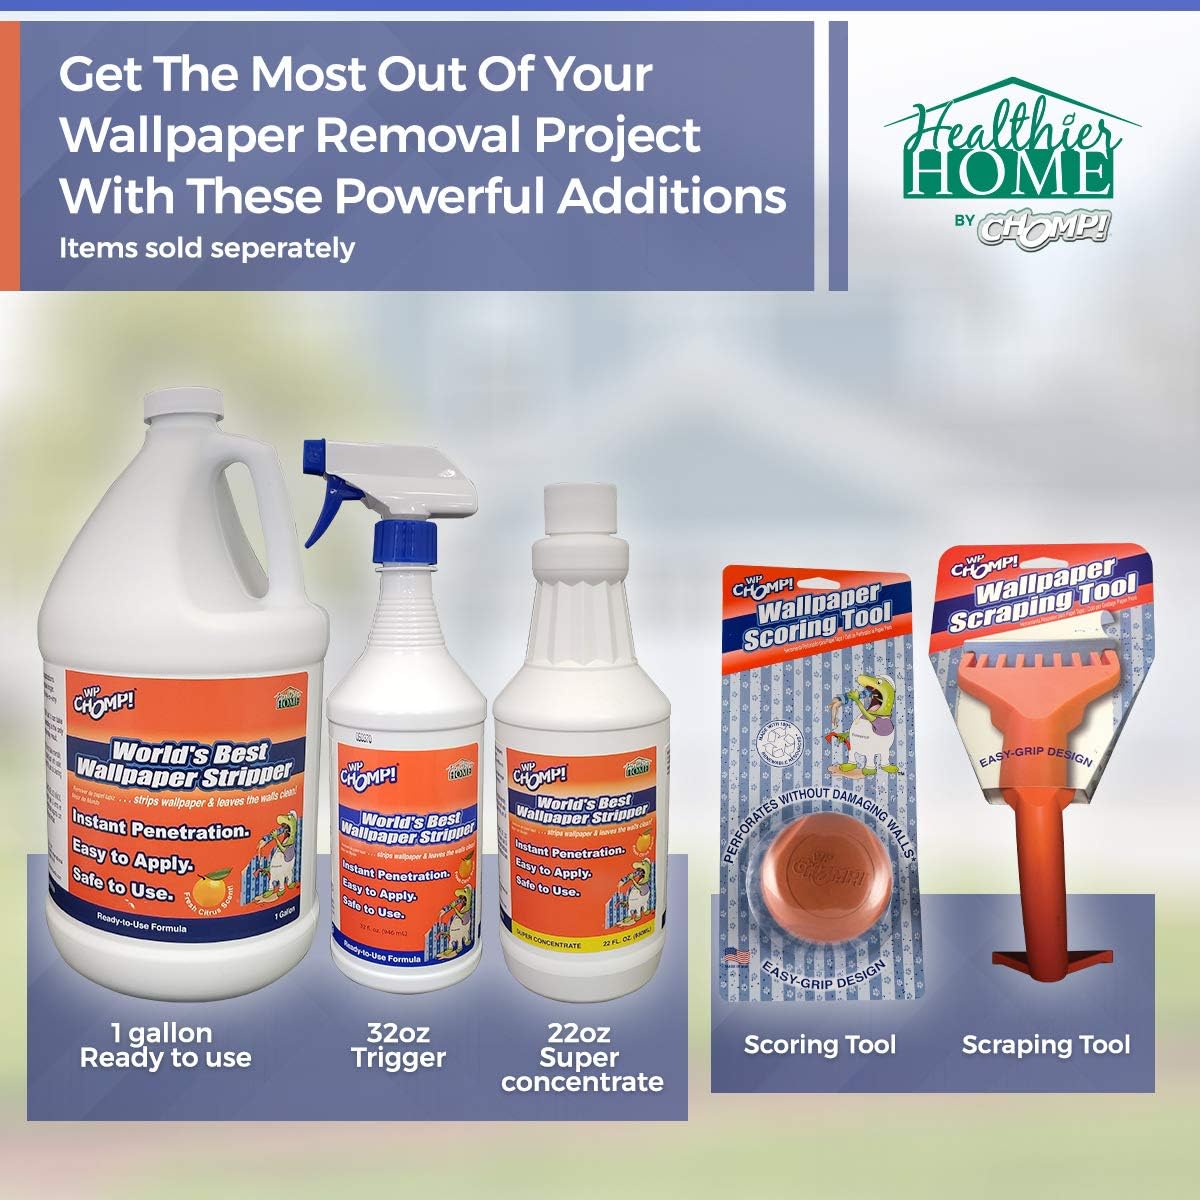
Check price on AmazonThe Tools You’ll Buy Once and Forget to Budget For
Architectural Digest’s installation guide lists the full tool set, and it’s worth reprinting the logic: most of these items cost $6–$18 individually, and skipping them creates visible, permanent problems.
Plastic smoother / wallpaper squeegee: Used to push air bubbles outward from the center of a strip toward the edges. A credit card will not work — it’s too rigid and will crease the paper. A proper smoother is slightly flexible and won’t damage the surface. This is a non-negotiable $6–$10 purchase.
WP
$17.47
In stock on Amazon
Check price on AmazonSeam roller: A small, narrow rubber roller (about 1.5 inches wide) pressed along the seam where two strips meet. It’s the tool that makes seams invisible rather than obvious. Owners who skip the seam roller consistently report seams that lift within the first year, especially in rooms with humidity fluctuation. Under $12 at any hardware store.

Red
$9.68
In stock on Amazon
Check price on AmazonPaste brush or wide roller: Paste-the-paper methods use a wide, soft-bristle brush (think 6–8 inches wide). Paste-the-wall methods can use a standard 9-inch roller with a thick nap cover. Don’t use a brush you already own for painting — dried paint residue contaminates paste and shows through light-colored papers.
Plumb line or laser level: Walls are not perfectly vertical. You need a true vertical reference before hanging the first strip, or every subsequent strip will compound the angle error. A traditional plumb bob (a weight on a string) costs under $8. A laser level costs $25–$60 and is reusable across many projects. If you’re hanging a patterned or mural wallpaper where alignment is critical, the laser level pays for itself in stress reduction.
Roman
$32.12
In stock on Amazon
Check price on AmazonWater trough (for pre-pasted papers): If your paper is pre-pasted — meaning adhesive is already dried onto the backing and activated by water — you’ll need a plastic trough long enough to submerge a full strip. These are about $10–$14 and not stocked everywhere; order before your paper arrives.
The Scenarios That Inflate Costs You Can’t See Coming
Old walls with previous wallpaper: If there’s old paper under your paint — common in homes built before 1980 — it may need to come off before you hang new paper. Rental wallpaper steamers run $40–$60/day from most Home Depot locations. Budget for two days minimum if you’re doing a full room.
Repairs to damaged drywall: Small holes and dings need to be skim-coated (a thin layer of joint compound spread smooth, then sanded) and re-primed before hanging. Joint compound is inexpensive ($10–$20 for a small tub), but the time adds a day for drying.
Rooms with high humidity: Bathrooms and laundry rooms require a moisture-resistant primer and, ideally, a vinyl-coated wallpaper rather than a paper-backed one. The adhesive spec also changes — standard starch paste will fail in persistent humidity.
Mural or pattern-matched paper: Any paper where the pattern must align across strips (called pattern matching, or “pattern repeat”) creates waste. Expect to lose one full strip’s worth of paper per wall section to trimming for alignment. Factor this into your roll count — it’s why every how-to guide, including Architectural Digest’s, recommends ordering 10–15% extra.
The Decision Rule
If you’re deciding whether to DIY or hire an installer, here’s the honest frame:
If your paper costs under $120/roll and it’s a non-woven paste-the-wall type: The supply cost is $60–$100, the learning curve is manageable with one practice strip, and DIY makes clear financial sense. Total supply investment pays back in the first roll of saved labor.
If your paper costs $200+/roll, is hand-painted, or is a multi-panel mural requiring precise alignment: The cost of a miscut or a bubble you can’t fix is high enough that professional installation — typically $150–$300 for an accent wall in 2026 — is worth serious consideration. The paper is the expensive part; protect it.
If you’re a renter: Check whether your paper is peel-and-stick (a pressure-sensitive adhesive backing that removes without damage). Peel-and-stick papers require zero primer or paste — your supply list drops to a smoother, a level, and a trimming knife. The full paste-and-primer calculation above doesn’t apply, which is one of the legitimate reasons peel-and-stick has grown as a category.
The supply list is not the place to economize on a high-stakes paper. Buy the right paste, prime the wall, use the seam roller. The wallpaper gets all the credit in the after photos — but the prep work is what keeps it looking that way three years later.